This case study comes from Ben, he had recently purchased himself a brand new wooden workshop from Malvern Timber Framed Buildings to have in the garden of his new home. This was actually the second garden building he had bought from Malvern who he would definitely recommend others to buy from.
As his current ground was soil, he wanted a base that could sit on or in the soil. He decided against using concrete as it would be expensive or very labour intensive and permanent and decided against using a wooden base as its chances of rotting whilst stood on a soil base would be very high.
Choosing a Plastic Workshop Base
Ben began searching online and soon found our website and our fully recycled plastic bases which are easy to install, very strong, competitively priced, can be relocated and are resistant to weather and rot. After reading up on all of its benefits he ordered 168 Plastic Shed Base Panels which he later used to create a 13ft x 12ft Shed Base.
Ben received his order just 3 working days later to his home address and was able to begin his installation as soon as he was ready.
Installing a Plastic Workshop Base
The first part of the project and possibly the most important part is the preparation of the sub-base. Ben talked us through the process of creating his sub base:
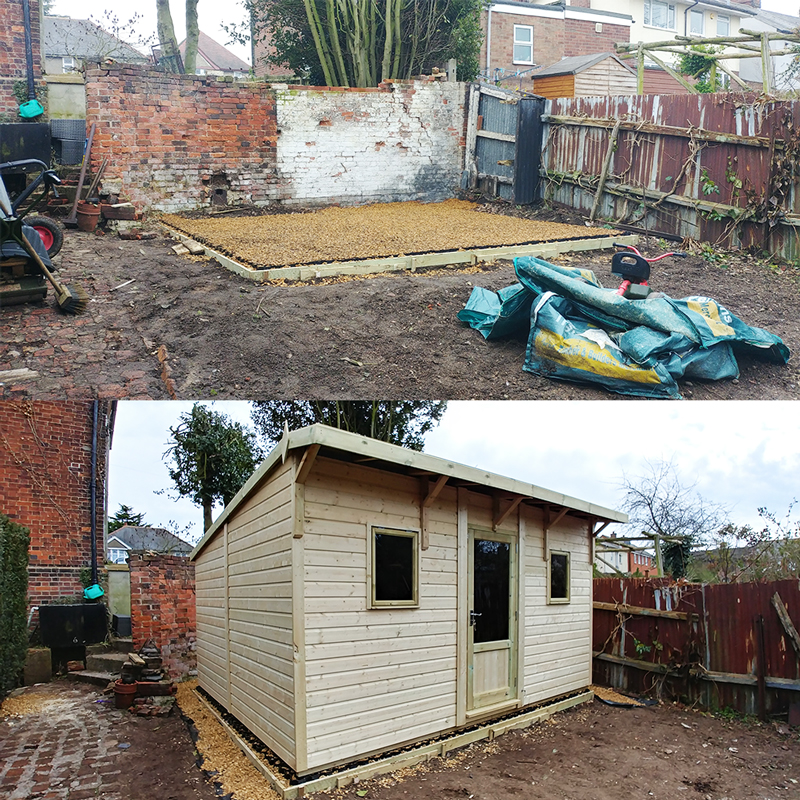
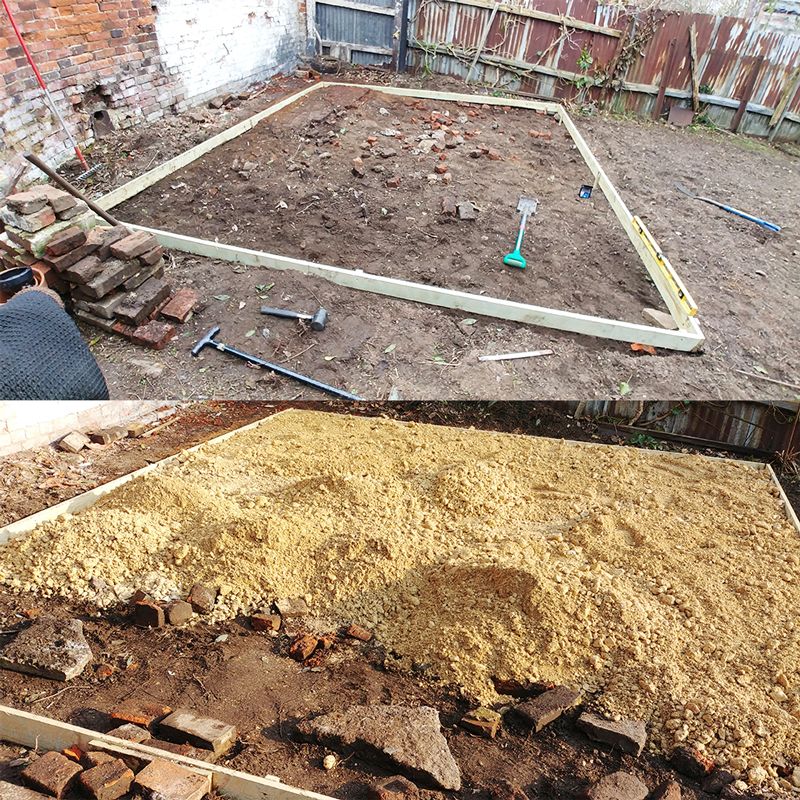
“The base was first roughly dug out using a 1.5 ton mini-excavator and then shuttered using appropriate timber. This gave me the initial area with 6 inches added for good measure. It also allowed me to get the sides level as the site slopes gently. It was important to leave at least a foot around the area for maintenance and to erect the workshop.”
“I started the filling by finding hardcore that inevitably collects in a garden over time and as mine is over 140 years old I had plenty. In the end I still needed 5 massive grab bags of MOT type 1 sub base to completely fill the shuttering. It was hard, honest work and made a welcome change to my office job. Once filled, I hired a wacker plate to ensure the base was compacted and as level as possible before laying the base.”
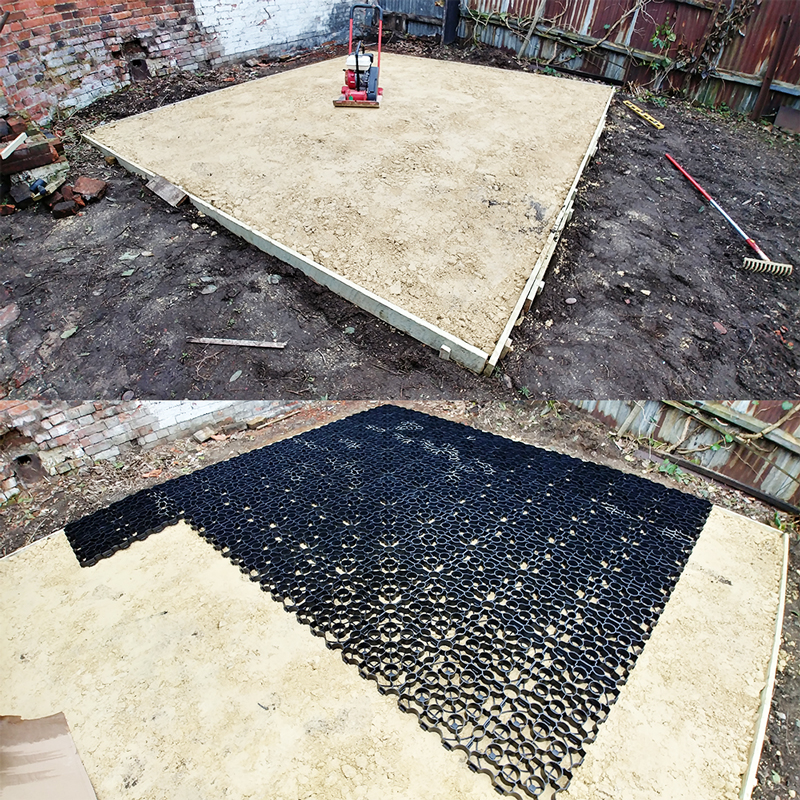
With the sub-base laid and compacted, Ben began to install and fill his fully recycled plastic shed base before his workshop arrived.
He again talked us through this part of the installation:
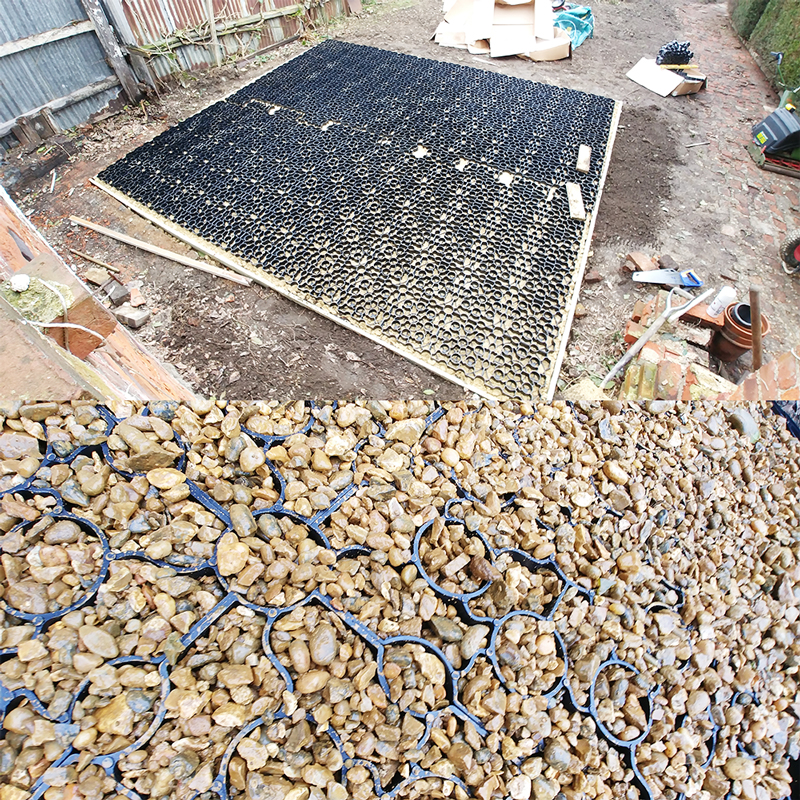
“Laying out the plastic base was a simple process, I had to break the middle section and cut a few to make it fit the shuttered space more accurately. Then I filled the plastic bases with 20mm shingle and levelled with a stiff broom.”
“The last stage was to check they were all level. There were some unwanted dips which on a smaller base probably wouldn’t matter but on something this large could have meant the workshops wall panels might not meet up correctly at the top. I decided to give the dipped panel a little lift and jiggle to move some of the shingle underneath the panels before topping it back up with shingle.”
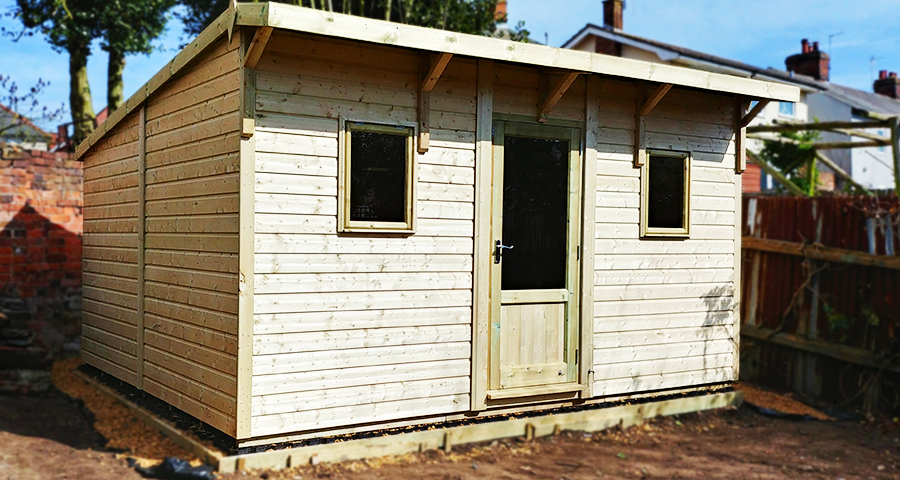
Once his base was complete, Ben’s workshop could be delivered and installed. A team from Malvern Timber Framed Buildings arrived with Ben’s garden building and had the entire structure completed the same day. We all agree it looks great and we’re sure Ben will get many years of use from his workshop.
Conclusion
Ben told us: “In the end I had a fantastic workshop installed on a very solid base that provides good drainage and isn’t permanent.”
A huge thank you to Ben for sending in the fantastic images and information to allow us to create this case study. His new workshop from Malvern and plastic base look amazing.
If you have any photos or information to share with us regarding your project or have questions regarding our products then please do not hesitate to contact us.