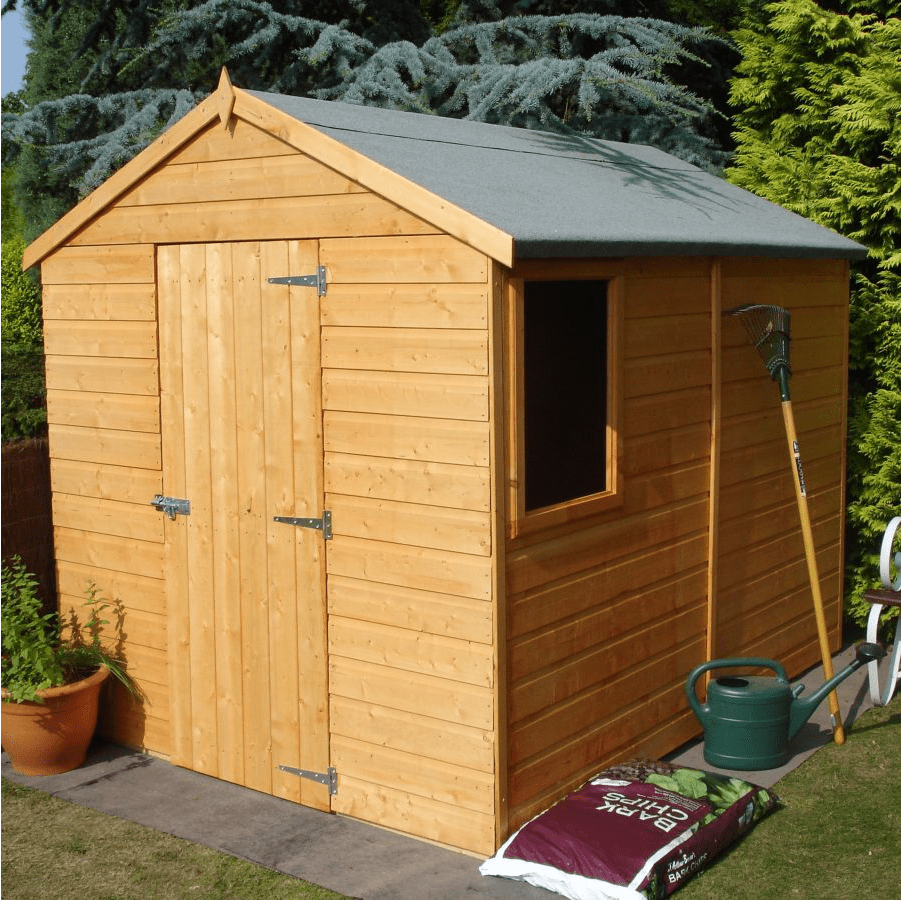
This is the time of year when people start kitting out their gardens with all things new and beautiful. One accessory no garden should be without at this time of year is a shed.
The staple of many British gardens is a wooden shed, but we’ll bet that you, just like many others out there, end up replacing your shed every few years for one reason or another. Maybe it’s not weathered well; perhaps the floor has become damp or rotten; or maybe it’s started to bow. There are many reasons for these types of issues. And you’re not the only one, it happens to the best of us. However, there are ways to prevent the deterioration of your shed to ensure it lasts far longer than just a couple of years. Let’s face it, no one really enjoys erecting a new shed now, do they.
Here are our top considerations when putting up your new shed.
*TIP – Read every point before you even go shopping!
Location, Location, Location
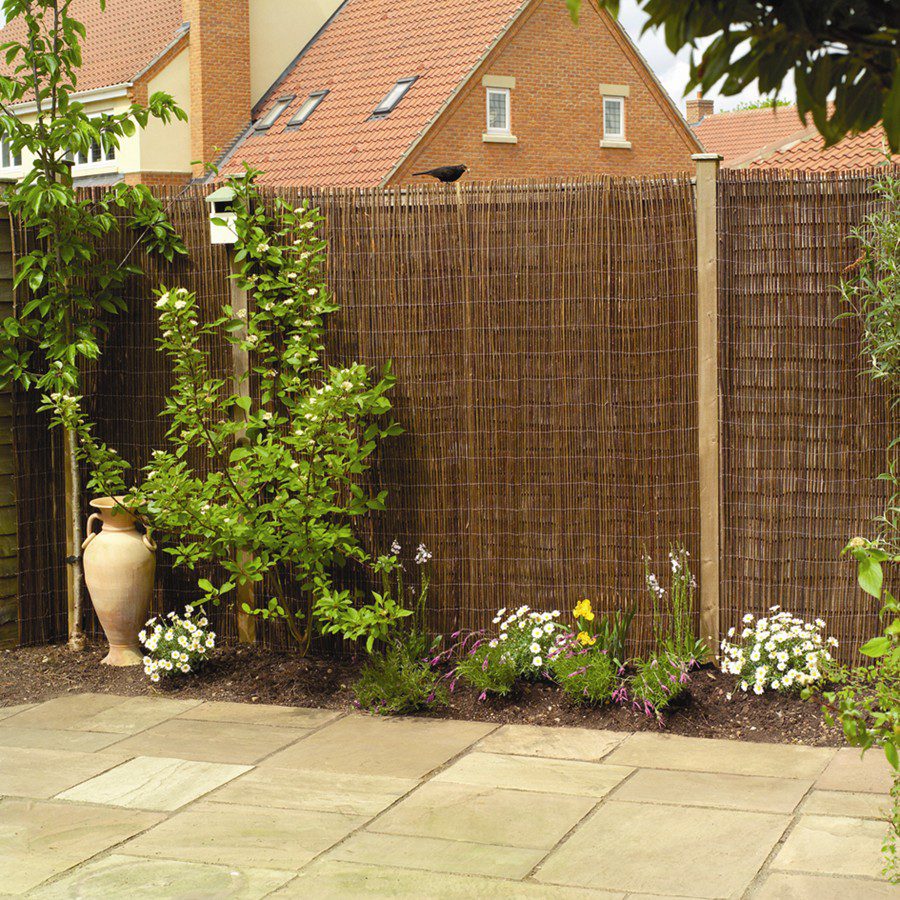
Before you even begin looking at sheds, it’s really important to decide where it’s going to sit in your garden. You will need access around the outside of the shed for maintenance throughout the year. You should also avoid erecting your shed near trees. This is for one of two reasons. The first, they over hang and long branches can cause damage to the roof of your shed. Secondly, a tree’s roots need room to grow. If their space is compacted underground then the roots are known to erupt above the surface. Doing this beneath your shed will leave it on an uneven surface and could cause irreparable damage.
Shopping
Once you’ve got a space for your shed it’s time to start shopping for it. Remember to measure the site before you head out hunting. This way you can ensure it’ll fit and buy one right away. There are loads of great deals available in local garden centres and even national hardware stores like B&Q and Wickes.
Once you’ve purchased your shed, schedule delivery for a weekend, or a period off work, when you’re able to dedicate some time to putting it up. For long lasting results, this is not a job that can be rushed.
Shopping extras
Many people make the mistake of erecting their shed straight on to the ground beneath. Regardless of whether it’s grass, concrete, gravel or paving, this is not good for the structure and will certainly not prolong its life.
To save yourself some money every few years by prolonging the life of your build, a durable base is essential. The main options are concrete, paving slabs or plastic. Believe it or not, a plastic shed base is actually considered the strongest, most durable and also the most cost effective. What’s more, they’re really light so don’t need a professional installer. You can put them together yourself in minutes. Make sure to order plastic pavers to cover a little bit more than the area of your shed. Your base should always be slightly larger than your shed, never smaller. Plastic bases can be purchased from the Shed Base Company (part of Garden Guru), and will be delivered to your door within 3-5 working days.
Preparation
Depending on the current state of the area, you should set aside anything from a few hours to a couple of days to clearing the site. Clear the area of all vegetation. This includes grass, stones, twigs, leaves and branches.
Once the ground has been cleared, it’s time to make sure it’s level. Once the ground is level you can get started on installing your base.
Base
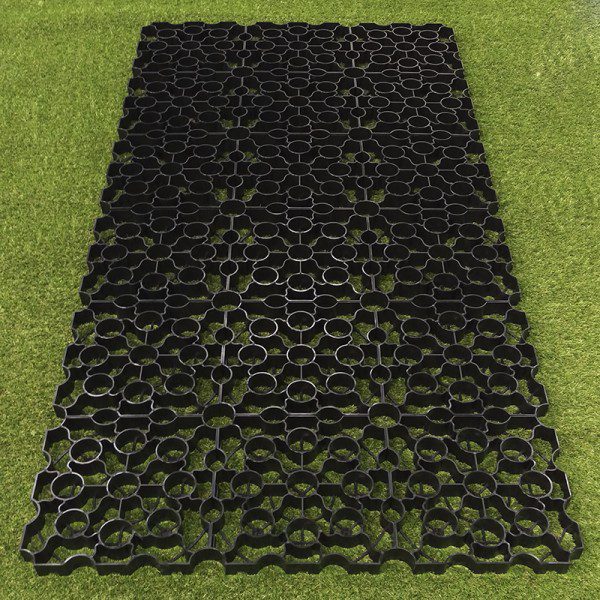
When the ground has been cleared and levelled, it’s time to get the base in place. How you go about this will depend entirely on the base you’ve chosen. If you’ve opted for a concrete base then you should have scheduled them to come and fill the area. You may also require a professional to install paving slabs. If you opted for a plastic shed base then this should have been delivered and you’ll be able to get started right away. Plastic pavers simply interlock and form a strong, durable base for your shed. Personally, we’d recommend securing the base in place with U-Pins or something similar.
Build
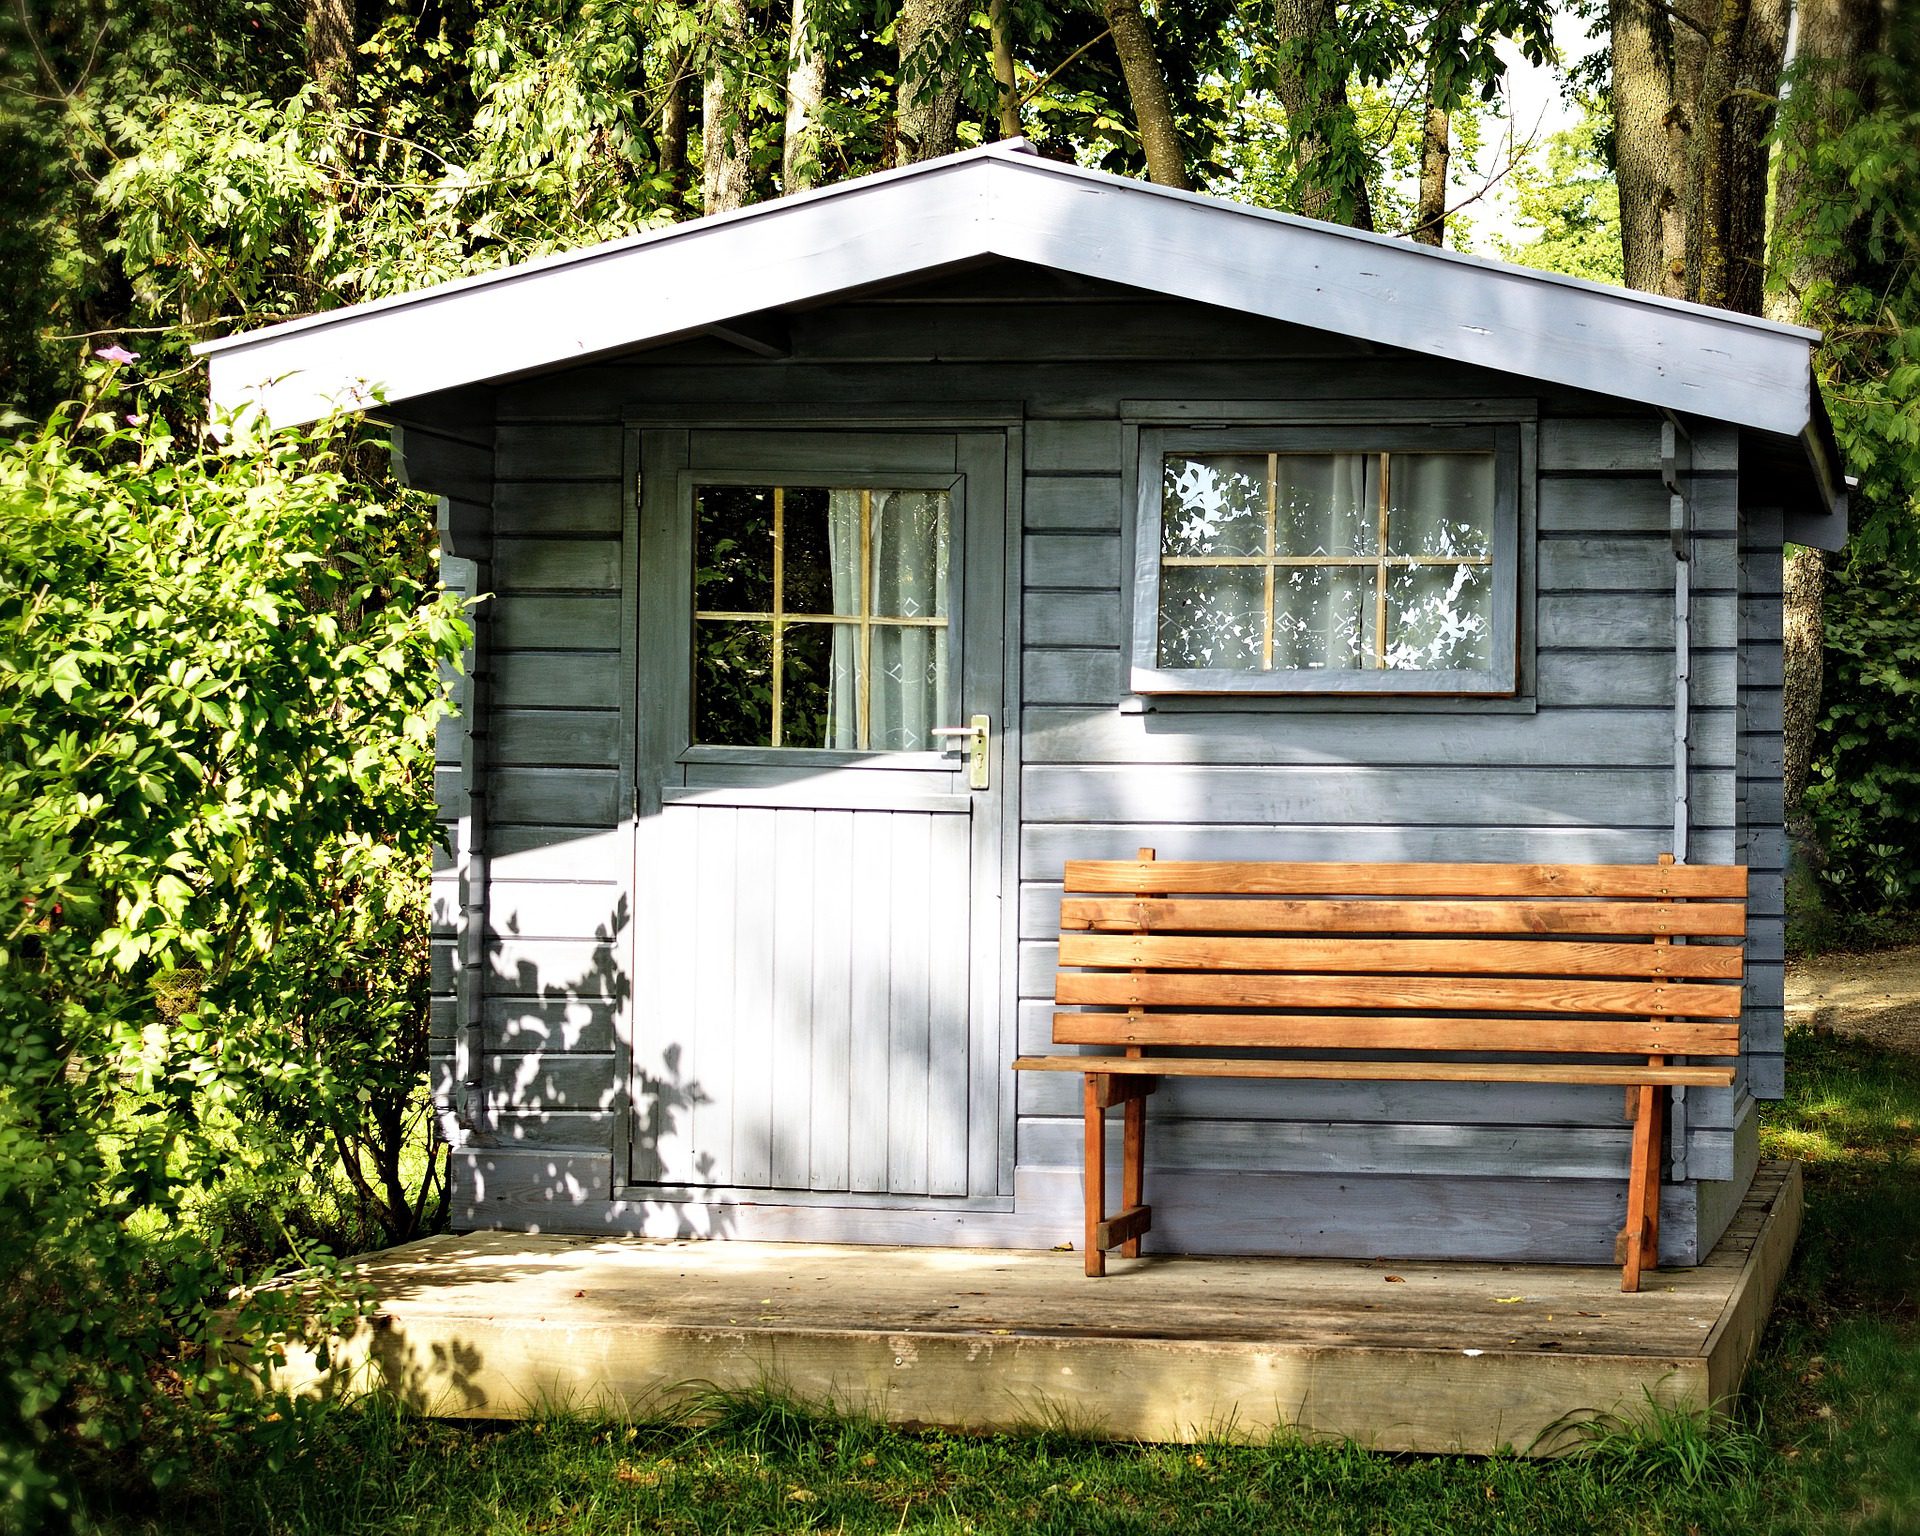
Once your base is in place, you can move on to the main attraction. Building the structure should be pretty straight forward. However, as a handy tip, you should build up from the ground. Although relatively simple, it’s unlikely you’ll be able to do it yourself. Instead you should either gather together friends and family to give you a hand, or do it the really easy way and employ a professional. Either way, it’ll be up and running in no time and you’ll have somewhere to store the patio set when the heavens open.
If you’ve got any handy hints and tips for any part of the shed building process, drop us a comment on Facebook or Twitter.